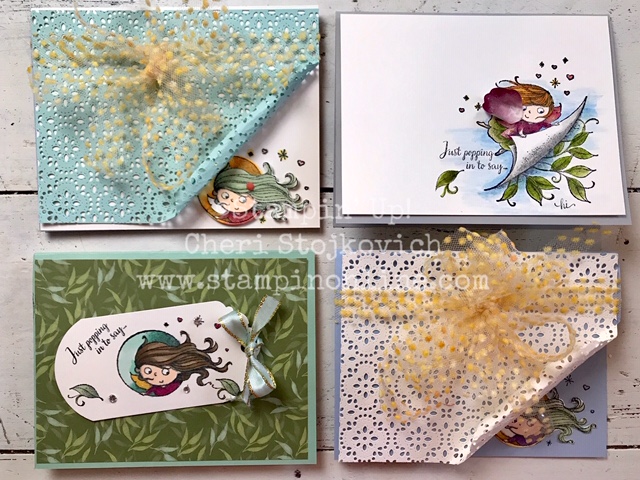
This is going to be a picture heavy post! I have spent some time off with the fairies….and now real life is calling…but I need to get this posted. Tomorrow it’s our filming day for Creating and Sharing the Life You Love, so if I don’t get it up today it will just drive me crazy til Wednesday.
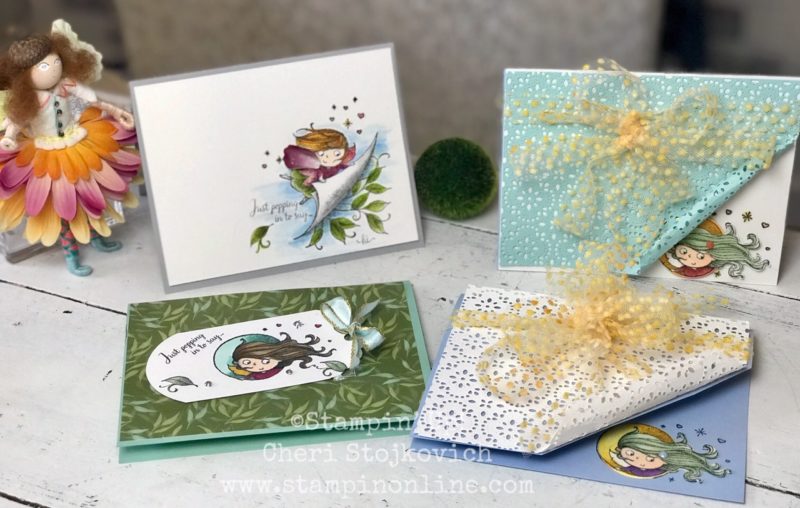
Everything you need to know about making ONE of the cards shown here is in the video.
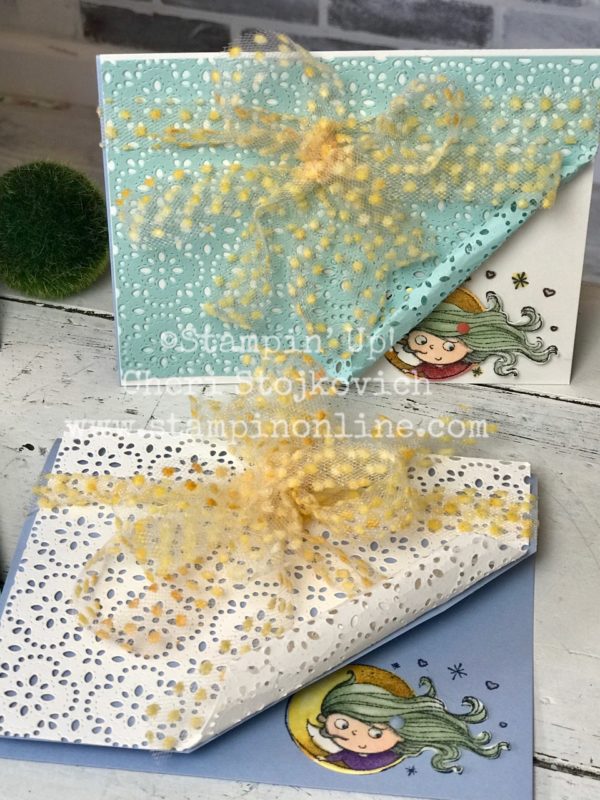
Actually it’s these two.

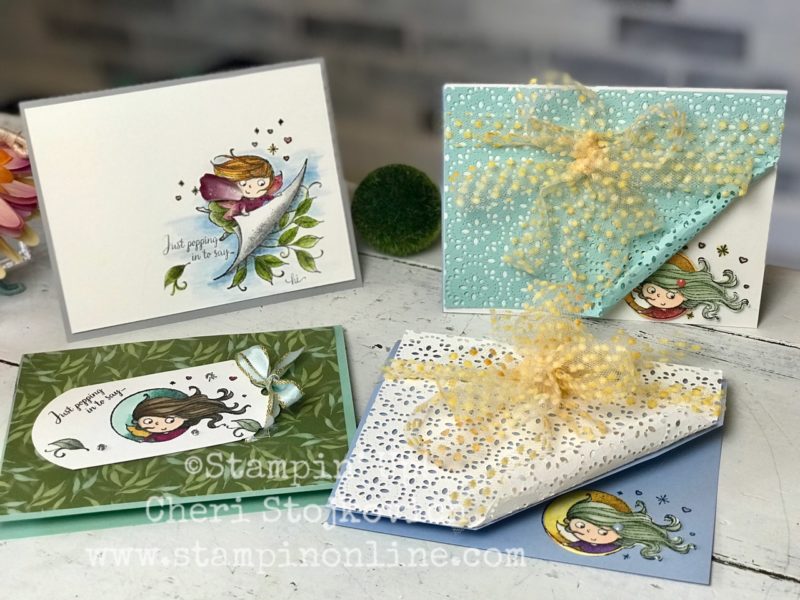
We had a Stampin’ Up! hosted leadership event this past Saturday and so all of the cards tie in a bit with that. The Seaside Spray was one I brought for our evening Shoebox Swap. I love to participate in Shoebox Swaps – especially with my girls – they are such talented stampers. I will eventually show you all of the things we made.
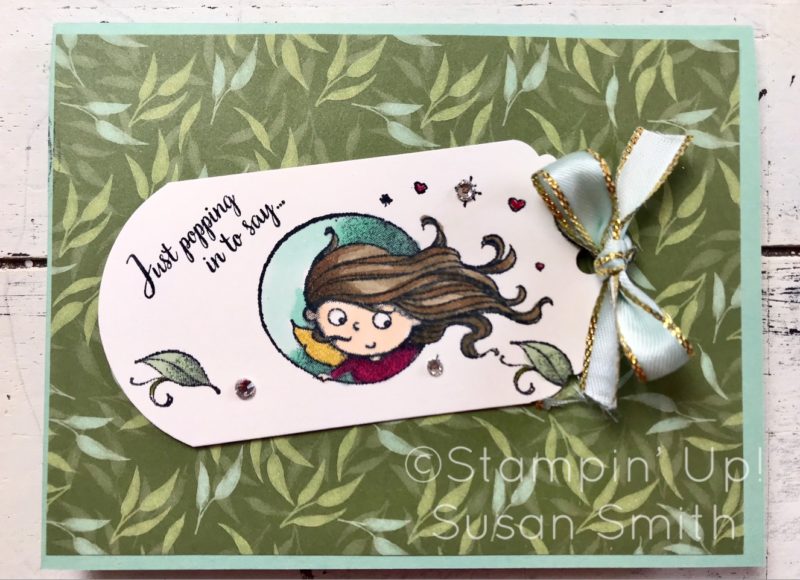
This one IS one of the ones I made that night. It was designed by my friend Susan. I think we have been stamping too long together (is that a thing?!!) It’s weird that for 2 people who own just a few (lol) stamps we often reach for the same one. AND we both used Dyed Ribbon!

So my tutorial in the video you will get to see HOW to make the Seaside Spray card. But – I had seen enough of it and was ready to try and switch it up. On the new version our fairy is popped up with a dimensional and shimmer cardstock abounds all over on both.
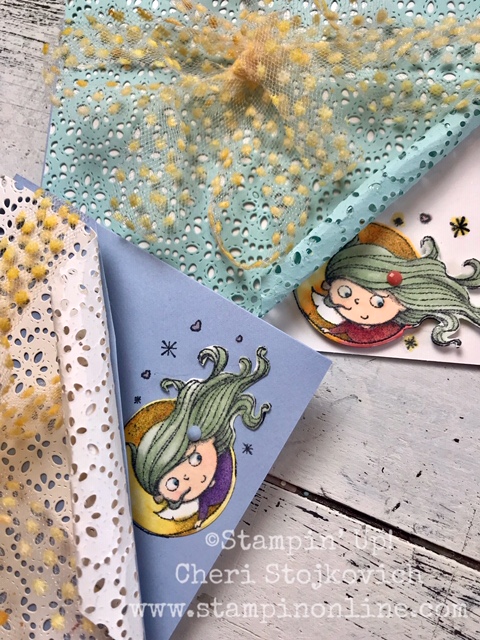
These were cut out with a circle die and colored with Blends. In this close up you can see the one is popped up.
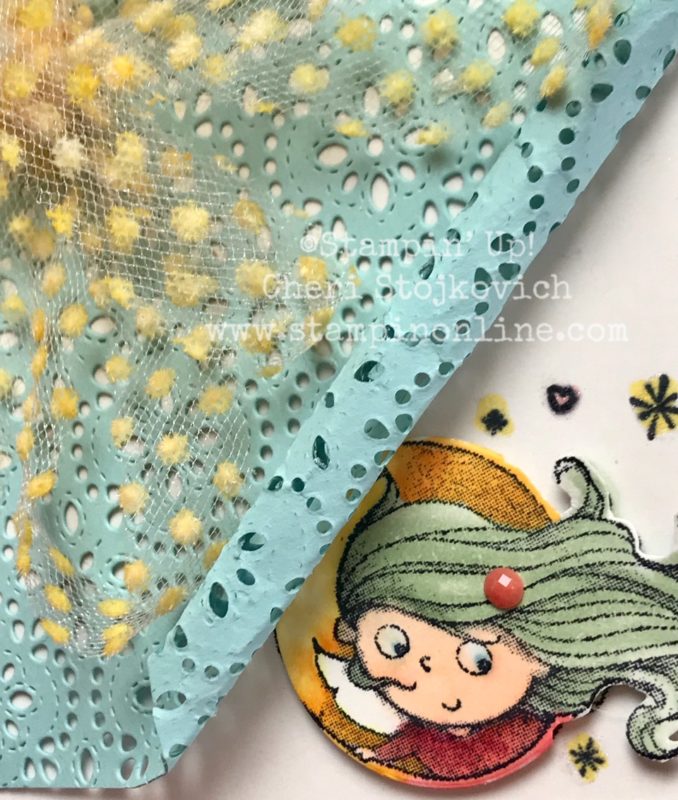
That was another afterthought when I was done taping. If you do it this way, make sure to color her hair on the card level too! It will give a nice look of depth to her!
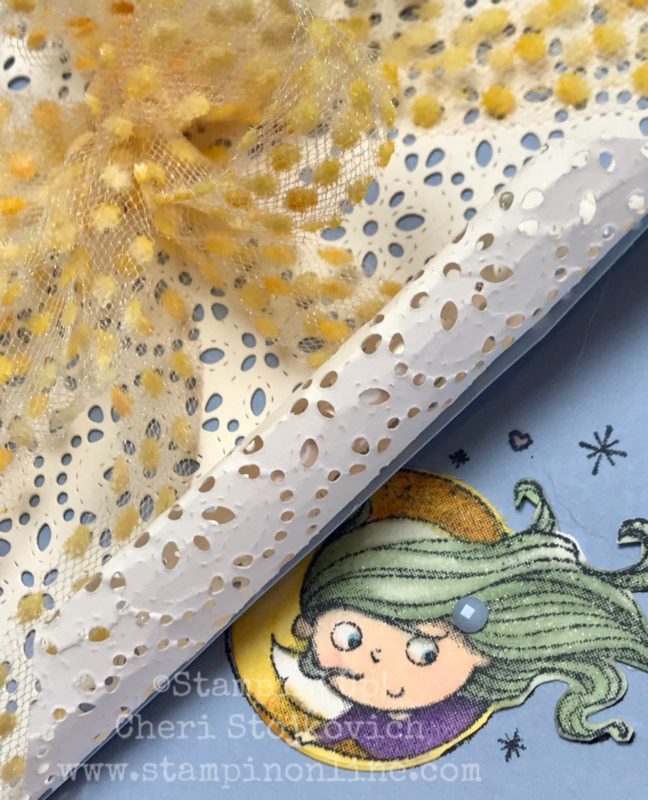
Here is the original. I wanted to see what she looked like stamped on the shimmer and popped up as opposed to stamped on the Seaside. Both are equally cute. I think the verdict is – go for whatever cardstock color you have and she will be adorbs!
Saturday our host brought a few fun things for us to look at from the Home Office. I begged for ONE of the Pressed Petal Washi pieces. I should have begged harder – I wasn’t thinking. I knew I wanted to use the petals for fairy wings and we can’t get the washi tape yet…..
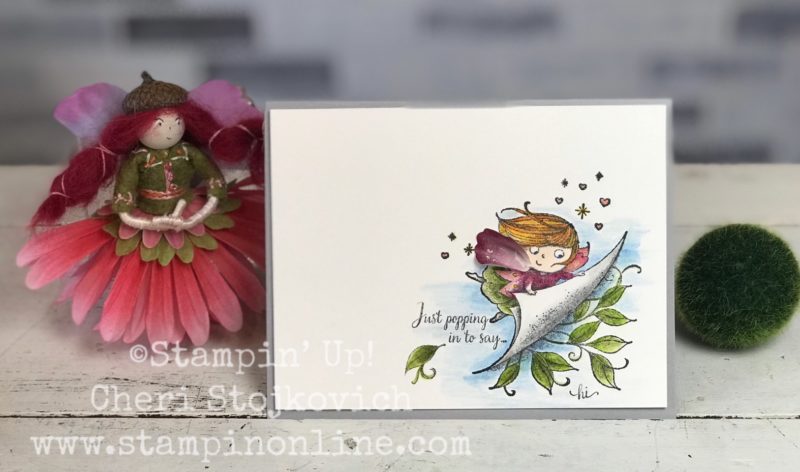
So right now my poor little thing just has one wing. Whoops!
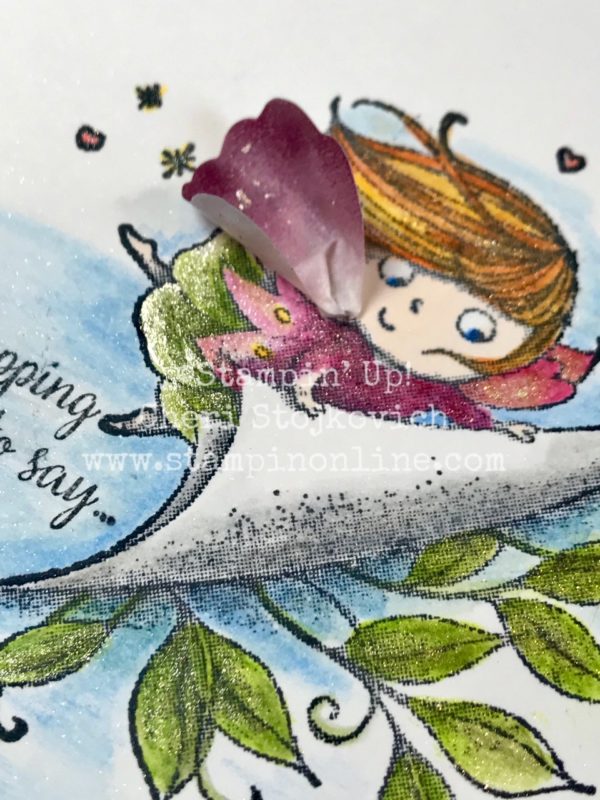
She doesn’t seem too phased about it. She just makes me smile!
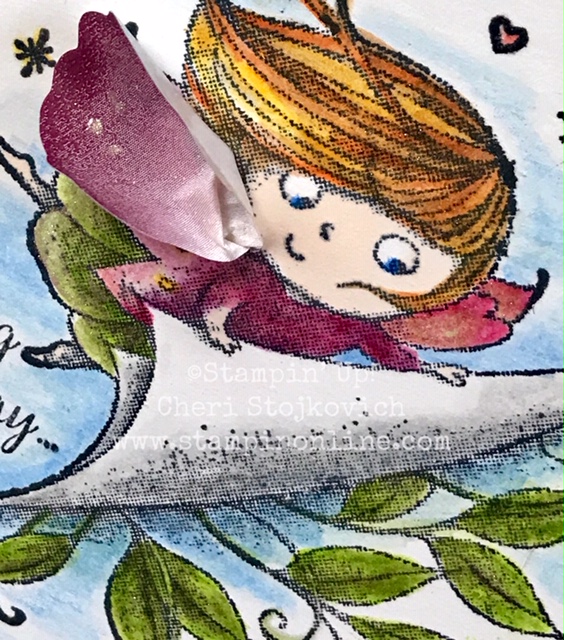
No tutorial for her – I only had the one washi petal…..but they are going to be so much fun to work with!
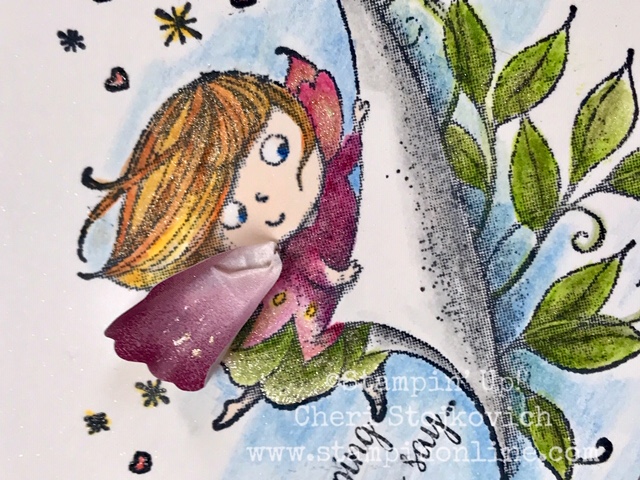
She is simply colored in with Watercolor pencils, a blender pen and then I added a few highlights of Wink of Stella. Please don’t consider stamping the Fairies on anything but shimmer cardstock. #fairysparkle Well, you can – just add some sparkle too them if you use regular ole whisper white.
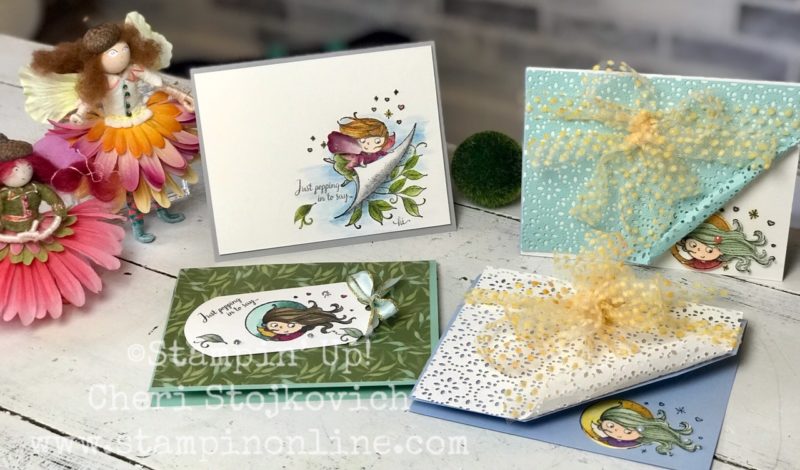
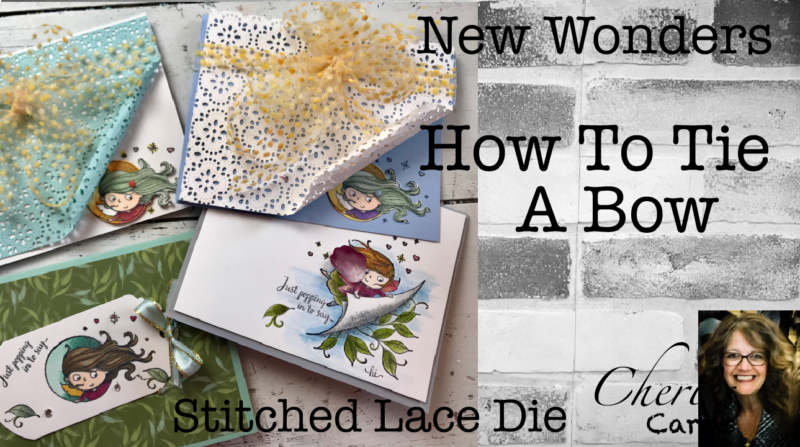
I get asked ALL the time how I tie the ribbons. If a card is featured in a video with my poofy ribbon, then I do tie it in the tutorial video. BUT – in this one I have intentionally done it very slowly so you can see just how I do it with explanation. It makes the video take a few minutes longer, but you will get to see exactly how to do it!
I love the Stitched Lace Die as well – and I do use it in the tutorial, but because the one I just filmed and posted prior to this one focused on that die – I have skipped over it a little. If you missed that – go back to watch that to find out much more about that die. The New Wonders stamp set is a Hostess Set. I am toying around with a way to do a free online class with it in late summer. Just trying to figure out how to get my faithful customers to have it in your hot little hands by then! Of course – hosting a workshop is the EASIEST way.
I didn’t get a weekend special last week – I was sick and then barely on the mend in time for our Stampin’ Up! event. This week I will pull together something for Thursday – a special, a Facebook live, etc. So check back for that – or your InBox on Wednesday!
Leave A Comment