Oh. My. Goodness.
lol
I have so many new things to show you – but the general outcry for this video to go to the front of the line! Ya’all must love the Tulle Ribbon as much as me!
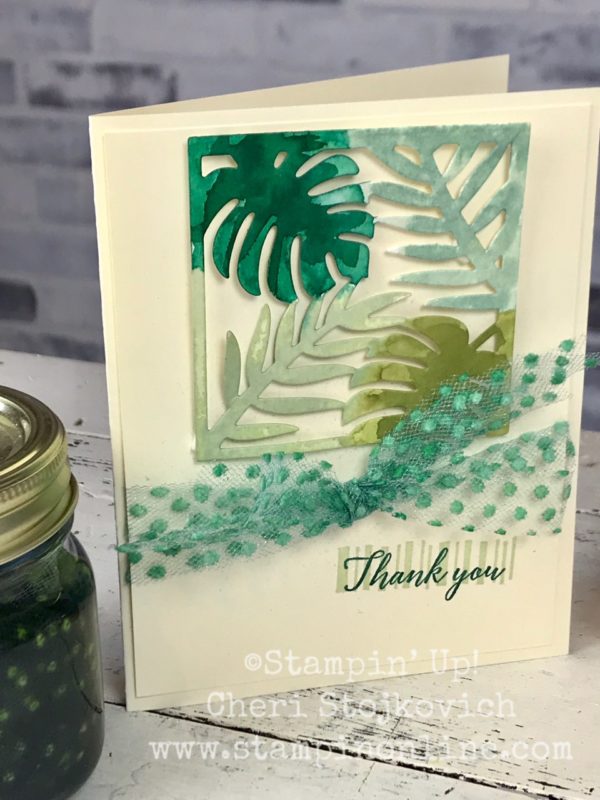
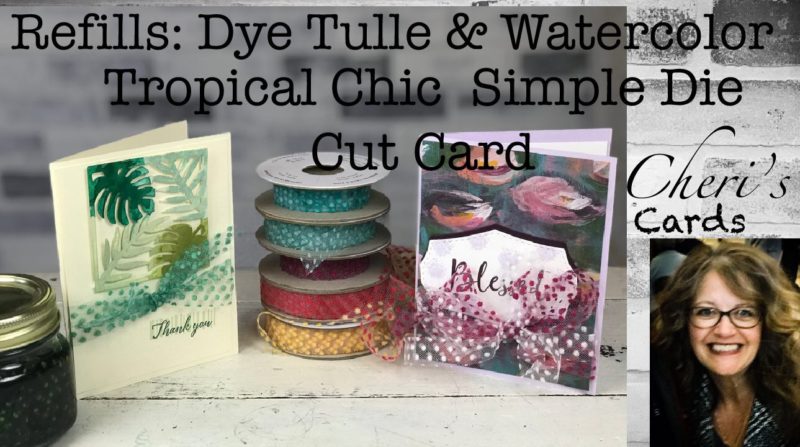
I had been crossing every body part possible that it would carry over to the new catalog so I could dye spools and spools in all the wonderful Stampin’ Up! colors. It did. And I have. The problem was it all happened at the same time that our INStage event, new stamps arriving and so many things to share and to do. I gave you a sneak peek of it on a card with a beautiful new stamp set and then the onslaught of emails and comments started asking HOW I did it.
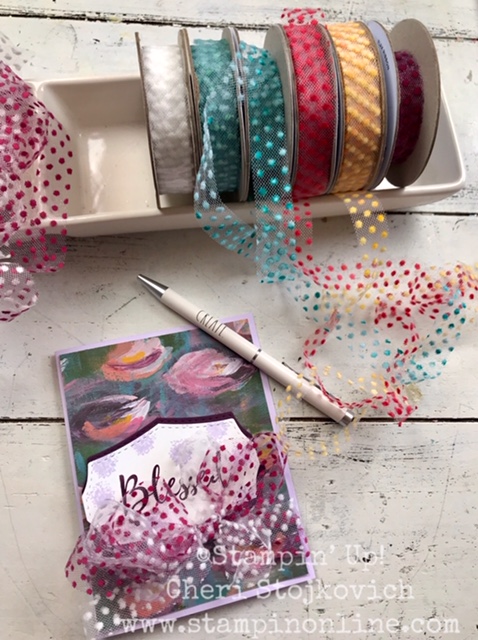
This was that card. Two reasons I didn’t include it in the first video – one – the video would have been pretty long. And my long videos get the thumbs down pretty often (people are just not nice behind a key board – if you don’t like the free tutorials offered by ANYONE – just move on to one you do, you know?) and Secondly – the ribbon was first used on one of my projects for our Demonstrator event that we hosted a couple of weeks ago and I wanted to put the ribbon with the card that it actually went with so the ladies who participated in the event would just need to watch the one video. Here is THAT card:
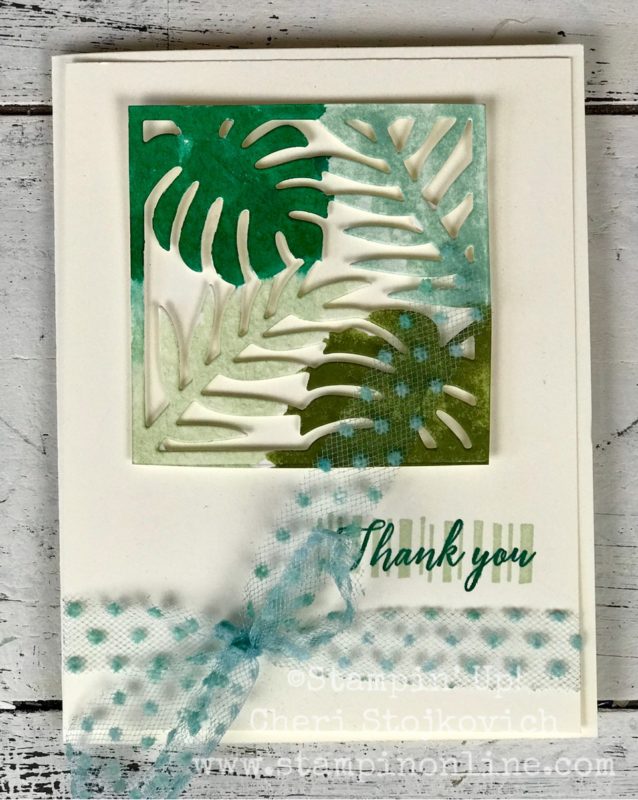
My class was on Die Cutting – but I managed to incorporate quite a lot on refills into the class – so it really could have been about that too! Here is the video – before you email or contact me with questions – watch that – most of the information should be in it!
Now – to address some questions I know will come –
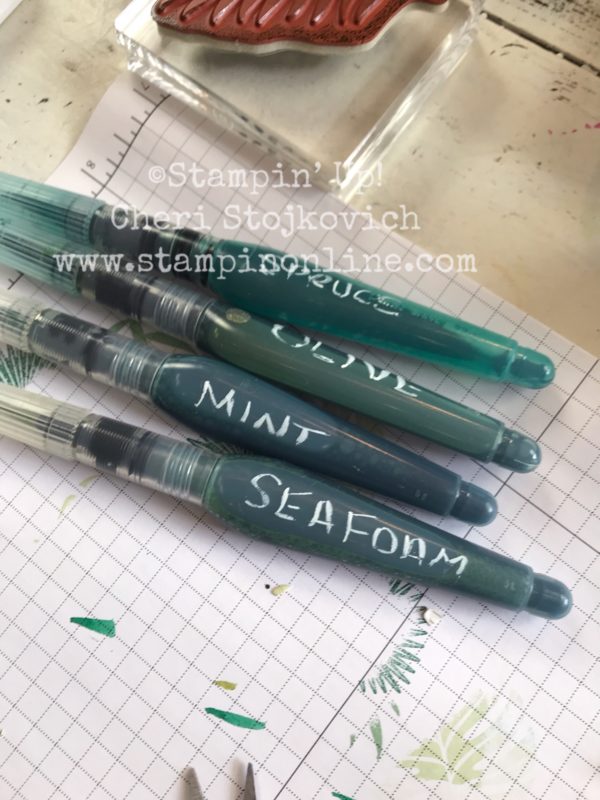
For the aqua painter painting method – One of my original brushes had Olive in it – then I switched it to Moss. (rules of the colors we were using for our INStage event). The colors have rubbed off in the video after being used so many times – but it is the 4th color in the card. I do think you could clean out your Aqua Painter and go from color family (ie greens) but the tips look pretty stained. My refill has been in them for over a month though. I do have another project coming up with them soon!
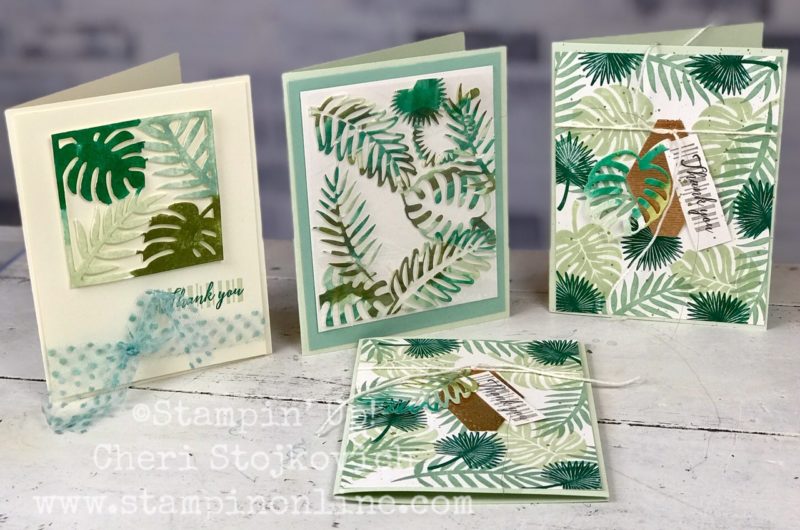
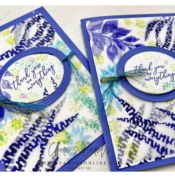
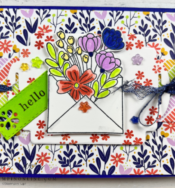
All 3 of these cards were made using the Aqua Painter Method. Two were done in our class at INStage and the 3rd was my INStage swap. All have a tutorial online. The splatters on the end (my swap) were made by flicking the Aqua Painter – it makes a GREAT splatter! We did 15 projects at our one day event – we like to challenge ourselves (especially) when doing projects for other Demonstrators that they be a bit outside the box! The Display Glass card will be done at my camp this weekend as well. If you are in the Indy area and would like to attend – join my email list. An email will go out on Wednesday with details.
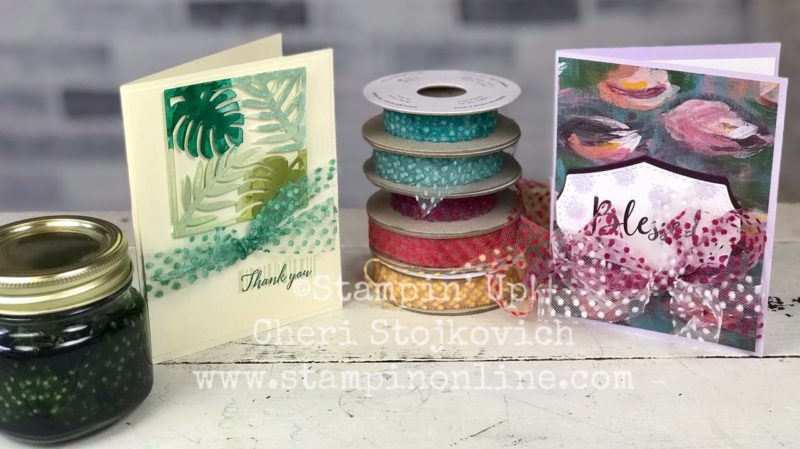
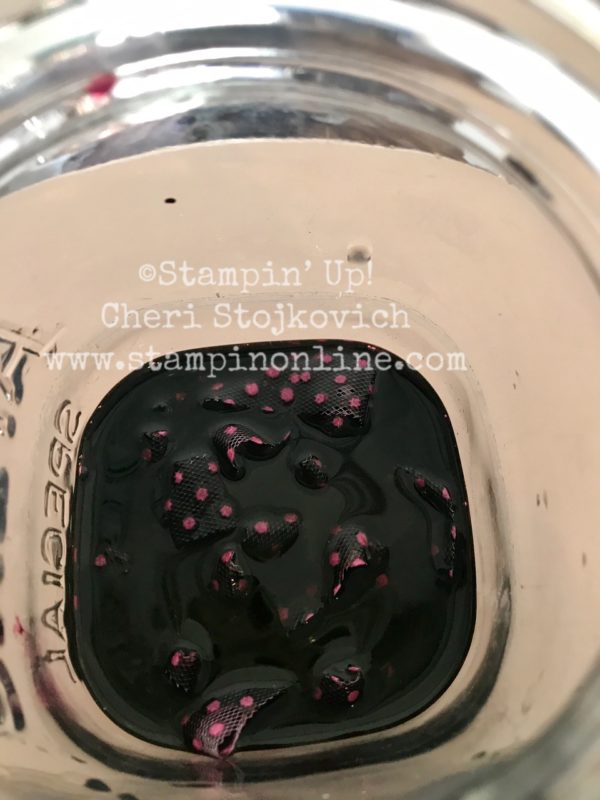
Next – the ribbon. I am sure there are several other ways the ribbon could be done – and you are most welcome to try them all! For ME, this was the most economical and quickest way to do it. There is a WHOLE spool inside the little jar pictured here. With just WATER and a few drops of refill!! That’s it. Nothing magic. All other details in the video. Again – you can sponge, use blends, etc – those all take time (not to mention suck up your Blends ink!). This is what worked for me – and especially great for using at classes or for large projects. I love the large puffy ribbons on my cards – I get about 10 of them per spool.
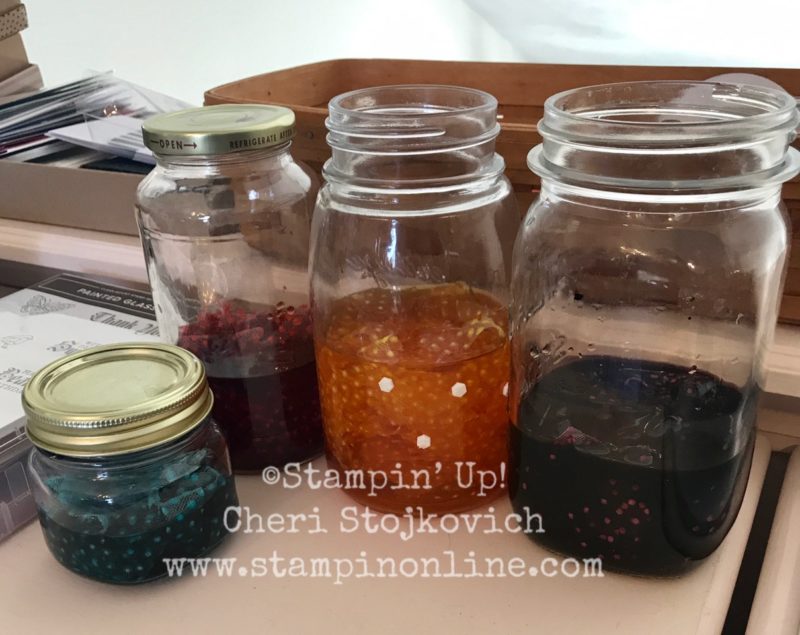
Here are the colors I started with after my original Spruce – Bermuda Bay, Real Red, Mango Melody and Blackberry Bliss.
In MAY – I will have a special that includes a FREE spool of COLORED ribbon (colored select Stampin’ Up! colors!) with certain purchases! So stay tuned for that!!
Last question (I have gotten nearly as many as how I dyed the ribbon). The ribbon holder is Rae Dunn. If you search and search (it’s a thing, lol) you might find one at the TJ Maxx (TK Maxx for you UK gals) family of stores. They are hard to find – but part of the fun is in the search. We searched and searched and had a nice supply of things for our INStage event. So much so – that at the end of the day we were even able to offer an ‘all attendee’ giveaway like Stampin’ Up! does – and it was the Ribbon Holders! It was quite fun! Not something we plan to always do – but a fun way to end our first INStage event.

If you shop with me during April – make sure to use the Host Code located on the side bar of the page.
Place Any Order on my Webstore and with your Thank You Card you will get a FREE Pack of Sweet Pins and Tags
In ADDITION
If you purchase the Tropical Chic BUNDLE (stamps and dies) now through the end of April – I will send you the CARDSTOCK, RIBBON, WINDOW SHEET, ADHESIVE SHEET needed to complete the card in today’s video AND the Display Glass card (video was posted just last week). Again, make sure to use the Host Code!
I hope you all enjoy using the Dyed Ribbon as much as I will!! Here’s to another year of lots and lots of Tulle!!
Product List


What was the name of the trays you used for your ribbon storage?
They are by the designer Rae Dunn. Love all her stuff!
So, how do you dry your ribbon once you remove it from the water? Drip dry? Thanks. Sooo pretty.
Hi Amy! I put the last two steps on my Facebook page – I did them during a FB Live – you can see them at Cheri’s Cards. Eventually I will move some of the videos over here, but I don’t know when I will have the time. Both videos are short. One I take the ribbon out and the other shows it after it is dry. Thanks for watching!
Hello from Canberra Australia – love you videos 🙂 quick question re the colouring of the tulle and apologies if I need to look at another you tube tutorials from you ……..and possibly a silly question, but how do you dry the tulle at the end – is it as basic as remove from the jar and hang outside to dry 🙂
Thank you – cheers Jan
Hi Jan! We are half Aussies here too – I learned to stamp there! My husband is from Melbourne and we lived there a million years ago when my daughter was born. If you go over to my Facebook page (Cheri’s Cards) you will find the last two mini tutorials that I did live – on the taking the tulle out and then it dry. They are just a few minutes long! It has been wildly popular, so I wanted to let everyone see how I did it! Thanks for your comments – and have fun experimenting!
The card is lovely! I have found that you can skimp some on the time by adding more refill and less water – especially on the darker colors! If you have more time you can save a little refill (and money) but soaking longer, but in a need to get your ribbon quicker – then just use more of the dye. In the end – both the tulle and the flax take the colors well – so you get the hue – if not full strength. Some of the other ribbons don’t take the color quite as true, so it wouldn’t work as well! Great card!